Robots – Next Step in Human Evolution
September 2, 2019
Python Training Course – Reasons Why Should Choose Python to the Career
September 13, 2019Arduino Programming Step by Step: Arduino is one of the microcontroller-based on a kit which will either used directly through purchasing from the vendor or else it will be built at home using the components to its open-source hardware feature. It is normally used in both communication and its operating or controlling various devices.
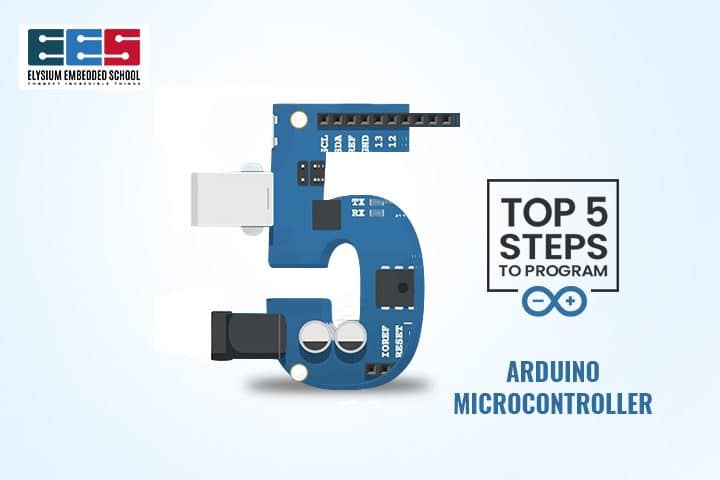
Top 5 Steps to Program an Arduino - Arduino Programming Step by Step
Programs may be written in Arduino Programming is known as sketches. A fundamental sketch consists of 3 different parts
- Declaration of variables
- These sketches are saved within the .ino extension. Any operations such as opening a sketch, verifying, saving a sketch will be done using the buttons on the toolbar or else using the tool menu
- The sketches will be stored in the sketchbook directory
- Select the proper board from the tool menu and that the serial port numbers
- Click on uploading button or choose upload from the tool menu
Initialization: It can written in the setup() function Control code: It can written in the loop () function
Features of Arduino Microcontroller
Some of the features in Arduino Uno ATmega328 it includes the following.
Especially, the input voltage ranges from 6v to 20V
- DC Current for every input or output pin is 40 mA
- Main operating voltage is 5V
- SRAM is 2 KB
- It is recommended into the input voltage can range between 7v to12V
- EEPROM is 1 KB
- Digital input or output pins are 14
- Analog i/p pins are 6
- DC Current for 3.3V Pin is 50 mA
- Flash Memory is 32 KB
- CLK Speed is 16 MHz
How to Use Arduino Microcontroller
Arduino may detect the surroundings from an input. Here some of the variety of sensors may cause to affect its surroundings via controlling motors, actuators, and lights. In this ATmega328 microcontroller on the Arduino board will be programmed into the help of Arduino programming language and also IDE (Integrated Development Environment).
Career in Arduino Programming Certification Course
Important to realize, the computing science and also programming industry may rapid into the development of the IT industry are flourishing into the present. It is one of the simplest ways of finding a job after completing the Arduino programming certification course.
- Arduino Programming Mentor
- Programming Consultant
- Agile and Swift Programmer
- Intuitive Programmer
- Arduino Programs Developer
- Micro Controlling System Programmer
- Certified Arduino Programmer
- Source Code Designer
- Programming Specialist
- Programming Analyst
- Embedded System Training Course Software and System Developer/Designer


